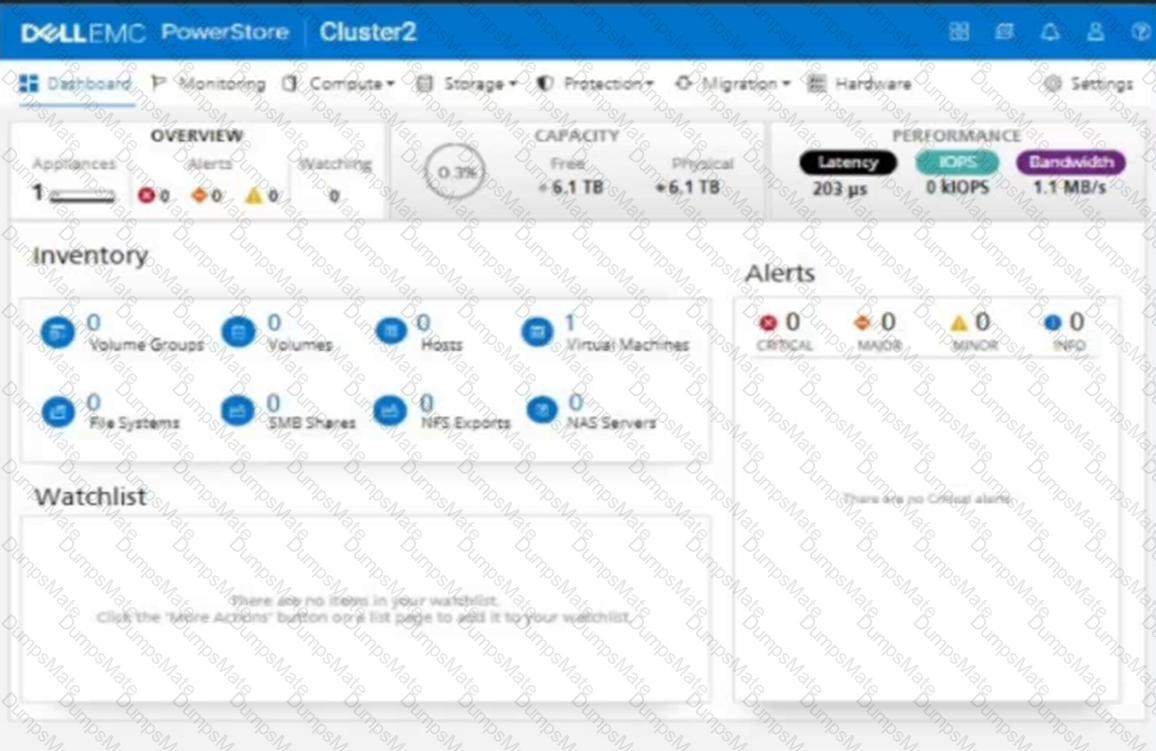
1. On the simulator, click on theStoragetab on the left sidebar. Then click on theVolumessubtab. You will see a list of existing volumes on the cluster.
2. To create a new volume, click on theCreatebutton on the top right corner. A dialog box will appear where you can enter the volume details.
3. Enter the name of the volume asnvme-ds-01. Select the category asVirtualizationand the application asContainers/Kubernetes. These are optional fields that help you organize and identify your volumes.
4. Select the volume performance policy asHigh. This will optimize the volume for high performance and low latency. You can also customize the policy by clicking on theAdvancedbutton and adjusting the settings.
5. Enter the size of the volume as2 TB. You can also enable thin provisioning, compression, and deduplication if you want to save space and improve efficiency. Click on theCreatebutton to create the volume.
6. You will see a confirmation message that the volume has been created successfully. Click on theClosebutton to exit the dialog box. You will see the new volume in the list of volumes.
7. To add a new host, click on theHostssubtab on the left sidebar. You will see a list of existing hosts on the cluster.
8. To create a new host, click on theCreatebutton on the top right corner. A dialog box will appear where you can enter the host details.
9. Enter the name of the host asESXi-01. Select the initiator type asNVMe. This will enable the host to use the NVMe over TCP protocol to access the volumes.
10. To add the host mappings, click on theAdd Mappingbutton. A dialog box will appear where you can select the volume and the access type.
11. Select the volumenvme-ds-01from the drop-down menu. Select the access type asNVMe. This will map the volume to the host using the NVMe over TCP protocol. Click on theAddbutton to add the mapping.
12. You will see the mapping in the list of host mappings. You can add more mappings if you want to map more volumes to the host. Click on theCreatebutton to create the host.
13. You will see a confirmation message that the host has been created successfully. Click on theClosebutton to exit the dialog box. You will see the new host in the list of hosts.
14. You have completed the task of adding the host and the volume and giving the host access to the volume using the NVMe over TCP protocol. You can verify the configuration by clicking on the host or the volume and checking the details.


 File system name: FS-1 on SMB-NAS Server.
 Size: 5TB
 New protection policy: Policy-1
 Snapshot rule: Snap-Rule only for Tuesdays on Hourly basis with default retention.

